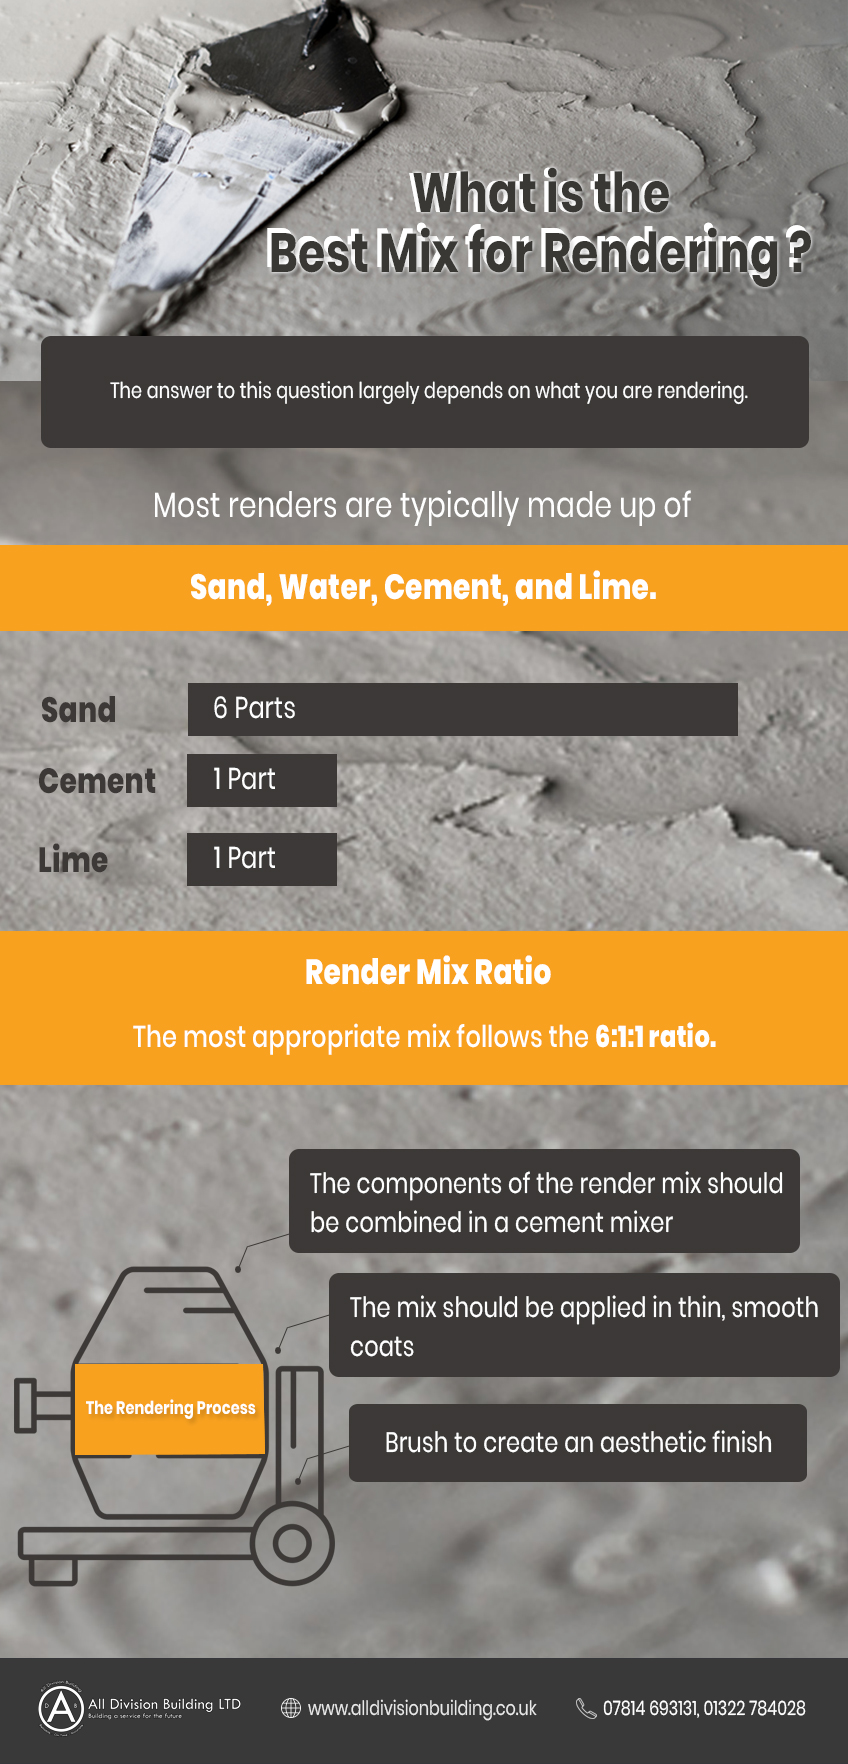
The answer to this question largely depends on what you are rendering.
Rendering involves the application of a cement mixture to walls (external and internal) to create a textured or smooth surface. It is quite similar to plastering. Not only does it have fire-rating and waterproof qualities, but it also holds some aesthetic appeal. It can be found in many buildings in several European countries, especially around the Mediterranean region.
Components of rendering mix
Most renders are typically made up of sand, water, cement, and lime. A standard ratio used in creating this mix is 6 parts sand, 1 part cement, and 1 part lime (6:1:1). There is no particular type of cement that should be used; any kind will do. However, the sand used ought to have a fine texture and be free from impurities. The best type of sand to use is rendering or plastering sand. Coarse sand is usually used for the base layer, and sand that has a slightly fine texture as the top layer. Therefore, you can make use of building sand for the top or base layer.
Lime is used to increase the elasticity of the mix, and prevent it from cracking once it dries. The most appropriate kind of lime to be used for rendering is hydrated lime. Other things could also be added to the rendering mix, such as colour-altering pigments, or additives that aid bonding and drying.
Creating the best mix for rendering
A simple rule is never to make the rendering mix stronger than the material to be rendered. For instance, if you want to render a concrete block of about 3.6kN, you do not require a potent mix. The reason is that upon contraction and expansion, which are bound to occur, the wall will move and cause the render to crack. Another factor responsible for damaging a render is the use of excess cement, which causes it to shrink back, and crack.
The most appropriate mix follows the 6:1:1 ratio. It is essential not to exceed this ratio. It is crucial not to use more than one part lime to one part cement, as the lime needs cement to assist it in setting. The right amount of lime makes the mix creamy and elastic. Lime makes the render self-rendering and self-curing. Thus, if the building moves as a result of contraction and expansion, the render will move with it slightly, preventing cracking. Where cracking does occur, the lime could re-calcify in the crack a little.
The mistake many renderers make is to leave lime out of their rendering mix. They often use plasticisers instead, which incorporates many bubbles into the mix. Even though plasticisers are good, lime has proven to be a better option.
The rendering process
The components of the render mix should be combined in a cement mixer to ensure that everything is evenly mixed. The mix should be applied in thin, smooth coats using a trowel. A finishing wash or topcoat may be applied lightly using a sponge, trowel, or brush to create an aesthetic finish.
If you do not want to create your render mix, you could purchase some ready-mixed products. The products that are acrylic enable the render to be super water-resistant and strong. Thus, it can be used on more complicated surfaces, like expanded polystyrene. These acrylic renders set quickly, in about a day or two. On the other hand, traditional renders take as much as 28 days to set.
A modern render which combines the advantages of the traditional and acrylic renders is the silicone-enhanced render. It is also super water-resistant, like the acrylic render, but unlike the latter, it is breathable. Thus, it is less likely to crack. The silicone-enhanced render typically has a lifespan of over 25 years. It comes in a wide array of colours, and with its features, it is increasingly becoming the go-to choice for rendering.
In conclusion
Regardless of which type of rendering mix you use, ensure that it contains lime. Or, it could also comprise other products that can perform the same functions that lime will perform. Also, ensure that your render mix is proportionate to the material to be rendered. It is essential to remember that even after a wall has been rendered, it may still require a little maintenance.
There you have it! Now, you are ready to choose the best render mix for your walls.
Read Also –