It is quite obvious that people prefer hiring professional experts for plastering their house. It is unnatural to go for plastering yourself if you do not possess knowledge about the same. Moreover, this job requires some proficient skills and a lot of time to get accomplished which is what most people cannot bear these days.
But hiring the plastering contractors can be a bit expensive too, given the fact that you don’t only have to hire them but also provide them with all the essential materials for plastering which adds to the cost more.
But if you have time and want to experience with the art of plastering by your own, here are some of the DIY plastering tips that you can follow to give your walls a perfect blend of finishing and professional touch.
But before we move on to the process of plastering, we must first know about the materials that are required to do the plastering. They are
- Dust masks
- Dust sheets
- Clout nails
- Plasterer’s float
- Screen tape
- Deviling float
- Plasterer’s trowel
- Plasterer’s hawk
- Board finish type plaster
- Stirring rods
- Spray gun or clothes for misting
- Buckets for water and plaster
- Cutting knife
- PVA glue, tray and emulsion roller
- Corner beading
These are the common materials used for carrying out the process of plastering a wall which is also used by the plasterers in Kent who are professionals in this category of work.
Now that you have got the idea of the requirements of materials for the plastering purpose, let us move on to the steps of plastering in details
-
Preparation
Well, a full proved preparation before starting any kind of work is needed and so, when you start plastering the walls, make sure you use the dust sheet on the floor to keep it free of the dirt. Also, you need to put tapes on the walls in places where there are holes or loose debris as that would create nuisance in the plastering process.
-
Application of the PVA to the walls
After you are done with the preparation, use the PVA for better application of the plaster in drying it later. The ratio of PVA with water must be in 1:4 and then using the roller lay it unto the entire wall surface. You can apply the first plaster layer right after you apply the PVA on the wall.
-
Mix and apply the plaster
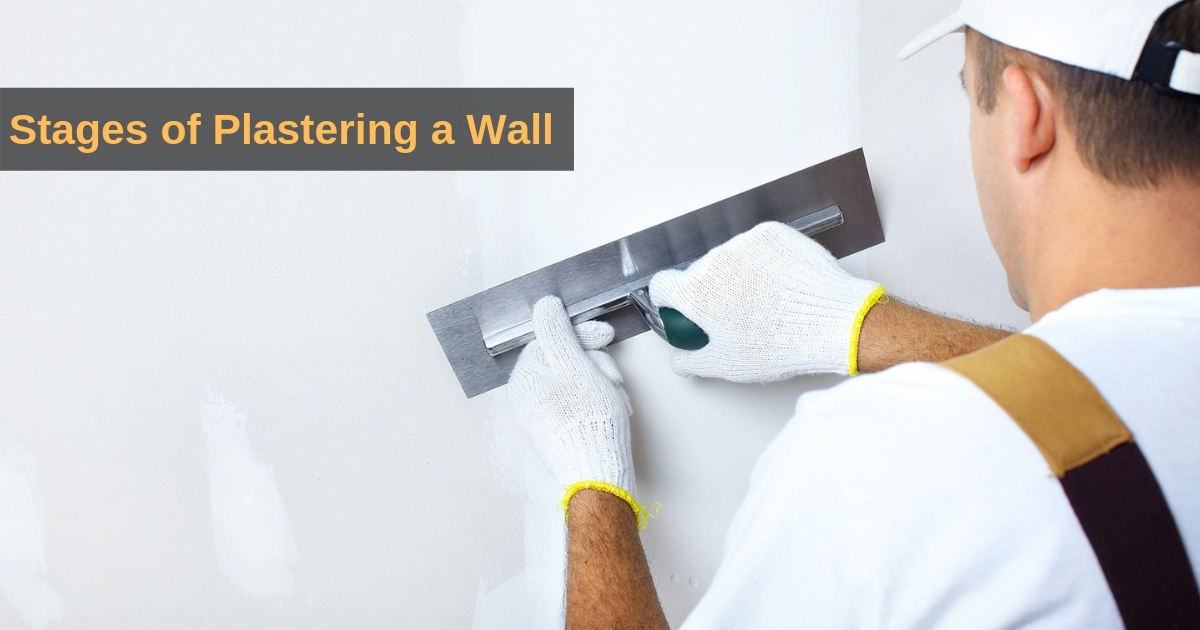
Now, wear the dust mask and open the plaster bags; mix them with water in a way that there are no lumps of plaster and the custard is smooth enough. When the batter is mixed well, it is ready to be applied to the walls. The plaster application can be done using the trowel, hawk board and float. When you place the plaster on the wall, do it in a way that it doesn’t leave an empty space; pull and push from the downwards to have a perfect blend of the plasters onto the wall.
-
Skim and then smooth the plaster
After the application of the plaster, skim it after 15-20 minutes as it gets slightly dried. Then look for lumps or uneven areas and try to smooth it with the trowel. You can also use wet brushes to make the edges smooth.
-
Scrape and add finishing touches
After this smoothing phase, some people tend to scrape the wall surface and then add a second coat of plaster again. When you are done with the second coat, add finishing touches which ensures better and smoother wall surface. It also means the final coating would be thinner than the first coat. The normal layering of the plasters should be around 2mm thickness. And after this, let the plaster dry.
Once you are done with the finishing touches, now let the plaster dry for some time. It would be great if you leave it untouched for the next 5-7 days to let it completely dry, or if you have an urgency to paint your wall or put cardboards then you can start the work even after 2-3 days depending on the dryness of the plasters. The builders in Kent normally provide plastered walls in every house that they provide the clients which include wall art designs as per the clients’ needs.
But when you opt for your own plastering process without having to hire the professionals, you must be very careful with the plaster process as there is a huge difference between experts and you when it comes to plastering a wall. So, it would rather be good if you can spend a few bucks more to hire professionals for the job to be assured of the quality of the work done. Nevertheless, it all depends on you as to how you want the work to be done, as the stages mentioned above also goes well with the plastering process.